

First off, start with a strip of felt. This strip of felt will be the pedals. You can do any size you want, depending on how big you want your flower to be. The ones I made are about 8 inches long, 1 1/2 inches tall. In that strip of felt you are going to cut hills (only description I could think of). You can do any shape, any size, any amount. Let your creative juices flow!
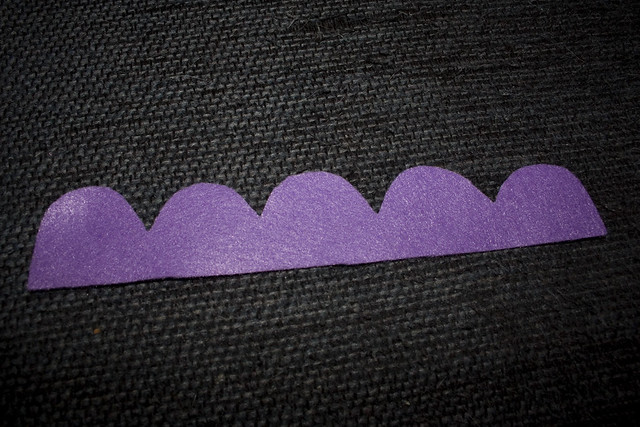 |
| The "hills", see why I couldn't think of a better name? |
Once you get the petals cut out, you are going to have to do some sewing. The thread color doesn't matter, you won't see it anyways. I did green, to make it easier for you guys to see what I was doing, usually I match the fabric. Now do a running stitch, all the way across the base of the petals. The distance of the stitches will produce different results, so experiment, play around a little. Don't be scared. You can't go wrong with crafting!
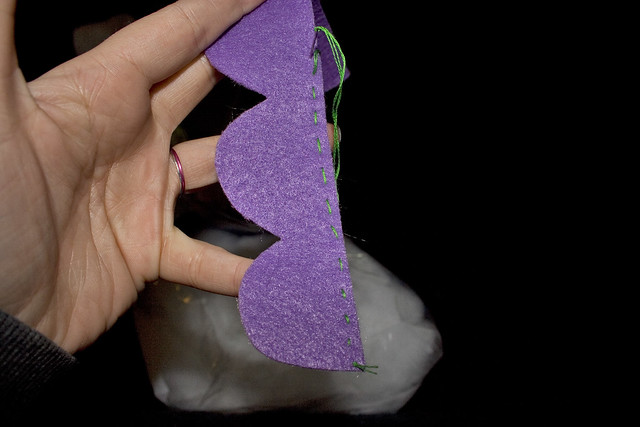 |
| Running stitch |
This step is my favorite. Something about scrunching up the fabric is utterly amusing to me. I think I need to get out more. Once you get the stitch done, grab a hold of the end of the fabric and pull on the thread, while pushing on the fabric. The thread will start to bunch, and curve. Keep pulling until all the fabric is bunched up.
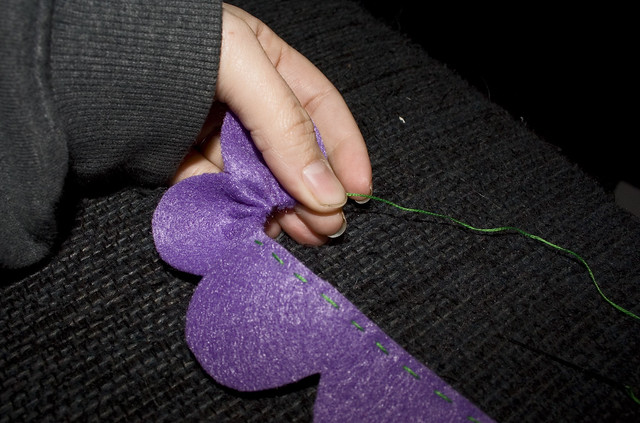 |
| See how fun it is?! |
Once all the fabric is bunched up I usually sew a couple a few stitches at the end to make sure it stays bunched. Then meet the 2 ends together and sew them up so it stays in a loop. If you are careful with your stitches, you should be able to hide them in the folds of the flower on the back. Now the outer layer of your flower is done!
 |
| Isn't it precious?! |
For the Puff (yes, that's the technical term) you need to cut out a circle of felt. The size of the circle depends on the size of the hole in your flower. I will admit, I've had to remake several of them. Luckily, they are quick and easy. On the edge of the circle, do another running stitch.
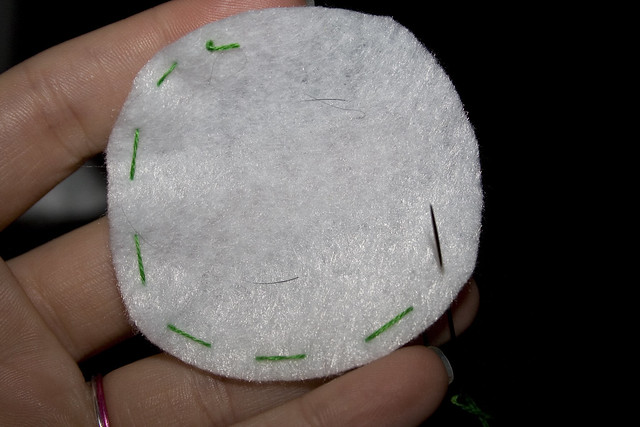 |
| Running stitch on the circle |
Once you've stitched all the way around the circle, pull the thread ever so slightly to bunch it up. Then place a little cotton inside the circle, enough that the circle will be nice and fluffy.
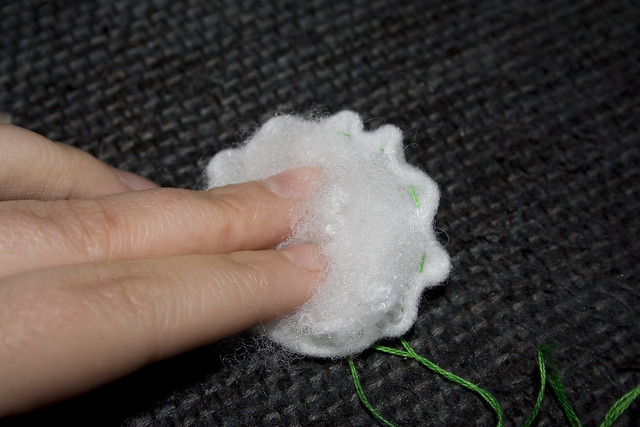 |
| Oooohhh! Cotton! |
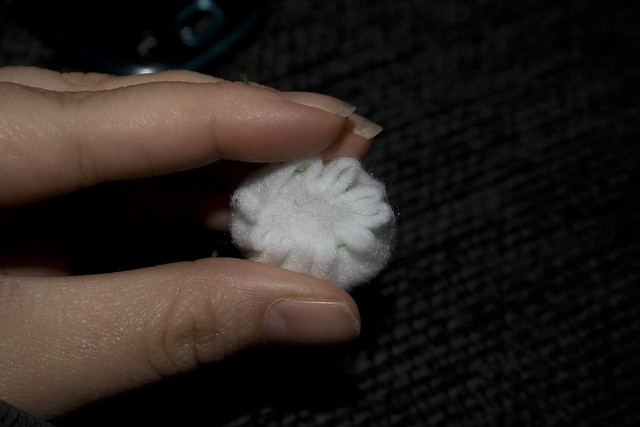
Pull the thread all the way closed. Your puff will bunch up in a little ball. You will need to sew it shut, so it doesn't come undone. I don't know if there is a "right" way to do this, but I usually sew across in a criss cross fashion a few times, pulling tightly as I go. Knot er up and you have your puff!
 | |
This gets a little tricky, but nothing you can't handle. Insert your puff into the center of the circle. Play around until you have the insides of the flower flush against the puff. Take care in sewing the puff onto the flower from the back, so that none of the stitches show on the front of the flower. I usually use a small stitch, and go all the way around and then knot it off. Personally, my stitches aren't that clean, but it's in the back so I'm not to worried about it.
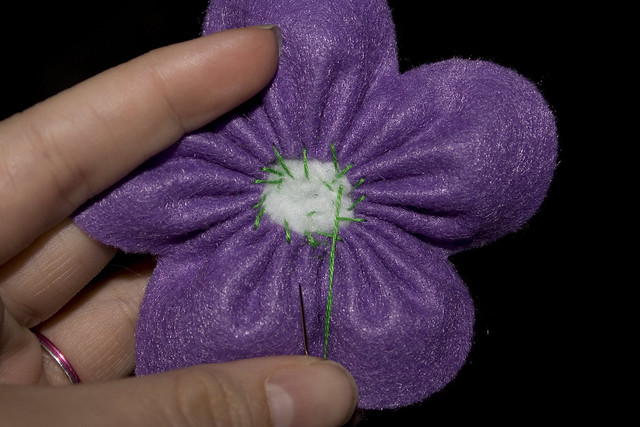 |
| I exaggerated my stitches just a titch, but you get the idea. |
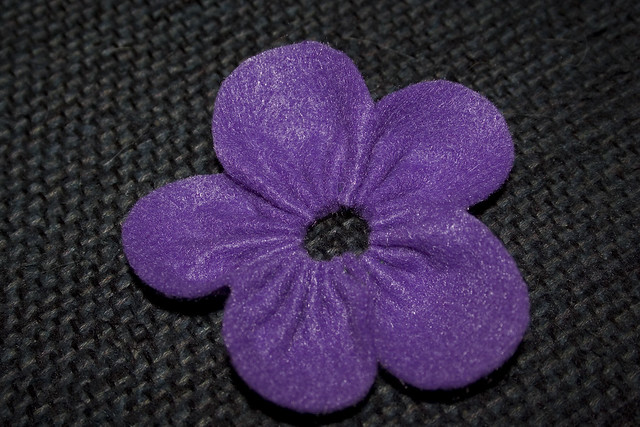
There you have it! You made a flower (I hope). If you are worried about how the back looks, you can always cover it with a button, or another piece of fabric. These are so cute and you can do so much with them! Headbands, shirts, bags, whatever you want really! Now go, be free, make a field of flowers!!
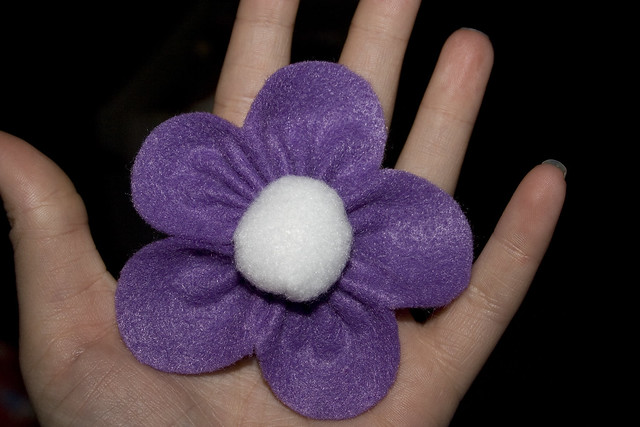 |
| Don't these just make you smile? |
No comments:
Post a Comment
Show me some love! I love comments!