

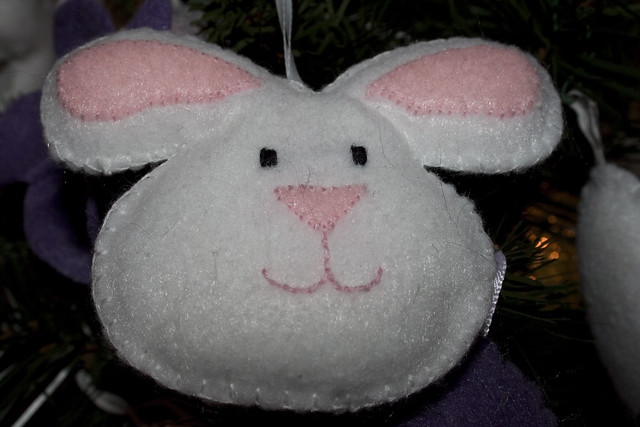
I have a problem. I'm a slacker. If something doesn't "need" to be done, it takes me forever to get it done. I've been meaning to post this for weeks, but never got around to it. Instead I posted pictures of spring, because it was easier. Ha! So here it is. The bunny for the Easter Tree. I was going to do the Chick too, but like I said, I'm a slacker. This bunny is so cute. Soooo cute. I have plans for this bunny (in bigger form), but we'll see if I get around to it.
First we'll talk supplies. Nothing big. 2 different colors of felt, embroidery floss, ribbon and cotton for stuffing. If you are a forgetful slacker (like me) and you run out of regular cotton and forget to buy some on your million trips to the store, use cotton balls. If you don't have any of those...well I can't help you, but I'm sure you will figure something out.
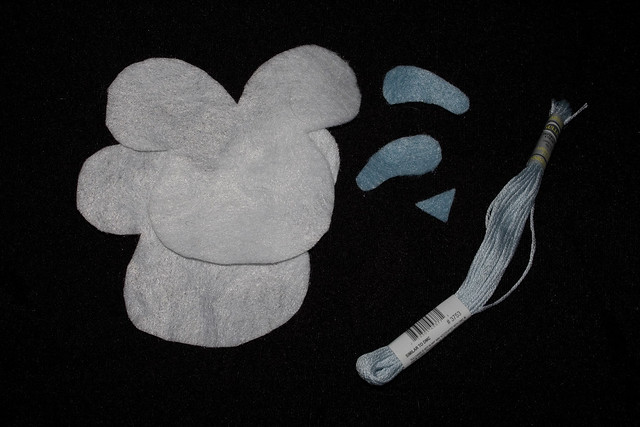
Now we will cut out all of our pieces. You need 2 of the heads, 2 inner ear parts, and a nose. The rest is done with embroidery floss. I do have a pdf file I made with the templates for the bunny and the chick, but I don't know how to post it on here, so if you would like a copy, send me an email at dirtonyourface@gmail.com, I will gladly email it to you.
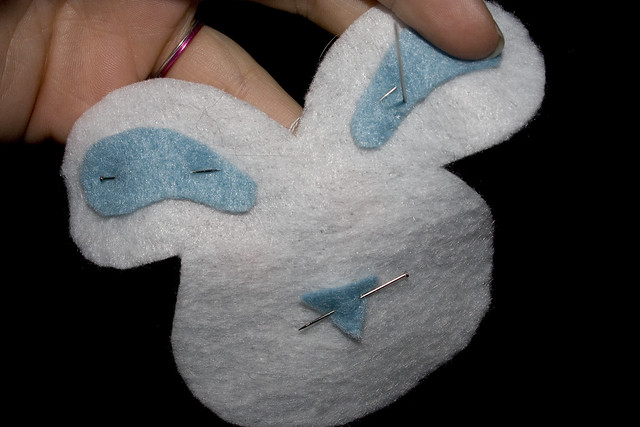
Pin the face pieces on, and sew em up. Or glue them on. Whatever works best/easiest for you. I prefer to sew, since my monsters are destructive and glue doesn't stop them for tearing things apart.
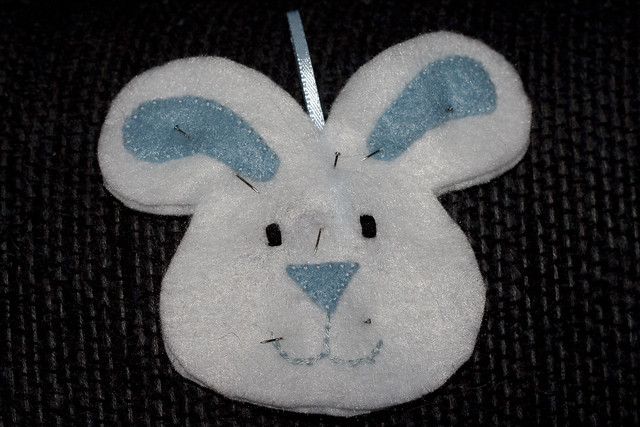
I forgot to take a picture of me sewing the mouth and eyes. So I'll have to do my best explaining. First sew the mouth with embroidery floss. I used 4 strands of thread. I was prepared to tell you what kind of stitch I did, but now it seems I don't know what kind I did. I've scoured the Internet (OK, only for about 10 min) and I can't find the name. The closest I've came to it is the chain stitch, only it's not really that? So... I'm going to tell you to be creative and use your best judgement. The eyes are just a few basic stitches right next to each other, then I did one across the top and bottom. If you want to go quick and easy, puffy paint is a great option! Voila!
After the face is put on, Pin the heads together. If you want ribbon to be able to hang, cut out a few inches of ribbon, fold it over and pin it in between the 2 heads.
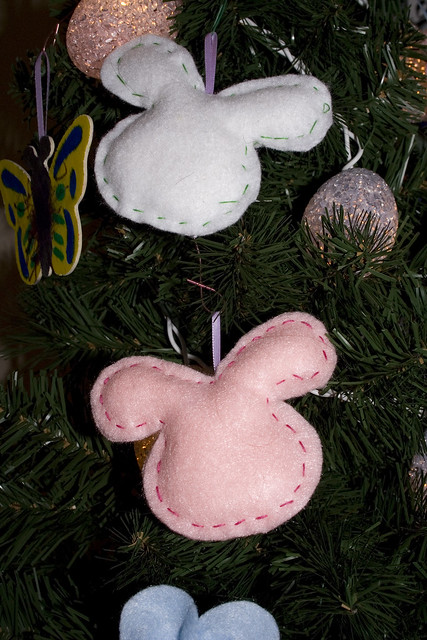
Time to finish this hoppy little guy. I now realize I should have done a different color thread, so you could see it better, but we'll work with what we have. If you want you can do a simple running stitch to close it together (2nd picture), or you can use the Blanket Stitch, like I do. Either stitch turns out super cute. Here is an awesome, awesome, awesome, tutorial on how to do the Blanket Stitch. Once you get to the ribbon, make sure a stitch or 2 goes through it to keep it in place.
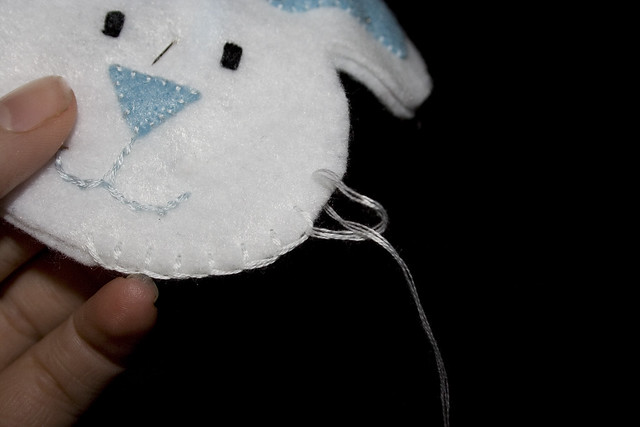
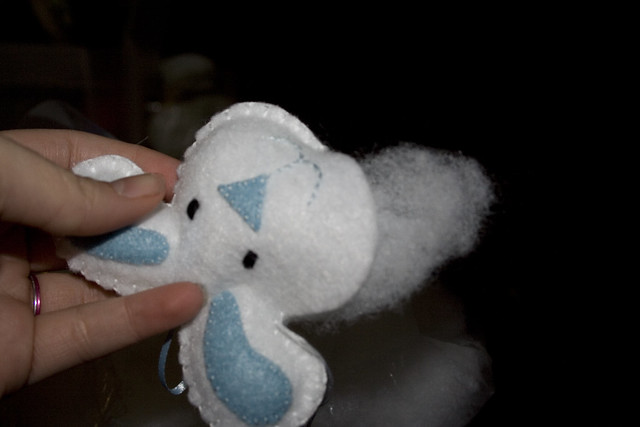
When you have a couple inches left to sew, it's time to stuff. Personally I suck at stuffing, so I leave a couple inches, sew some more, then when there is just enough room to fit my finger in, I stuff some more. If you can get it all done in one small stuff, I'm jealous! Once you have enough cotton inside, finish stitching and you are done.
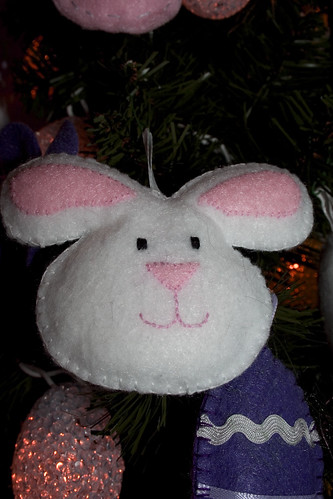
I forgot to take a picture of the finished Blue Bunny, and I'm to lazy to go pull it off the tree. So here is my original bunny again. Either way it turned out the same, just imagine this one to be blue instead. What do you think? Cute?
I forgot to take a picture of the finished Blue Bunny, and I'm to lazy to go pull it off the tree. So here is my original bunny again. Either way it turned out the same, just imagine this one to be blue instead. What do you think? Cute?
No comments:
Post a Comment
Show me some love! I love comments!